Wednesday, October 31, 2012

Pinterest Projects Past

Today I felt like remember some of the pinterest projects of the past and the wonderful inspiration that led up to them. 
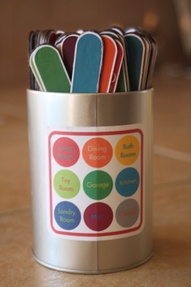
Here is the menu board that I created back in March. It worked really well, when we actually used it. We do not currently have it up in the apartment, because there isn't really a good place to hang it. I'm hoping to eventually find a nice place to hang it.
{Read about how I made it here}


Here's a few of the places that I got inspiration for my menu board-

the homes i have made
Simply Kelly B


There are a few more on my craft ideas page on pinterest. There are a lot of great menu planning ideas out there in pinterest land. You can find a menu planning system to fit almost any style.

This is a classroom tool that I made for myself and my cooperating teacher during my student teaching. She called them "fair sticks". They were used to make sure each student got a turn before starting over, thus making it fair, hence the name "fair sticks". My orignal idea came from chore sticks, however having no children I didn't need chore sticks, but I did need fair sticks :)


Here are the original chore sticks:


My first attempt at controlling my financial paperwork was inspired by Tiffany at the nest effect. See her post here. (although most her posts are just as helpful)


I have an entire pinterest board dedicated completely to home management binders. I got inspiration in a ton of places. My first attempt I got printables from other places and only made a few of my own. Then later I went back and made all of my own, which are now available in our etsy shop.


Glitter Keys and Bobby Pins. Easiest cute thing ever. Some sites recommended glue and dumping on actual glitter, followed by clear nail polish. I just used glitter nail polish and called it good. So far both the keys and bobby pins are holding their color. I considered coating them with clear acrylic sealer but didn't want that getting on the end of the keys and getting into the locks. I might add the clear nail polish over the glitter polish if it starts coming off.


This one isn't really a craft, but it was inspired by pinterest- a t-shirt reorganization.


I found my inspiration here:


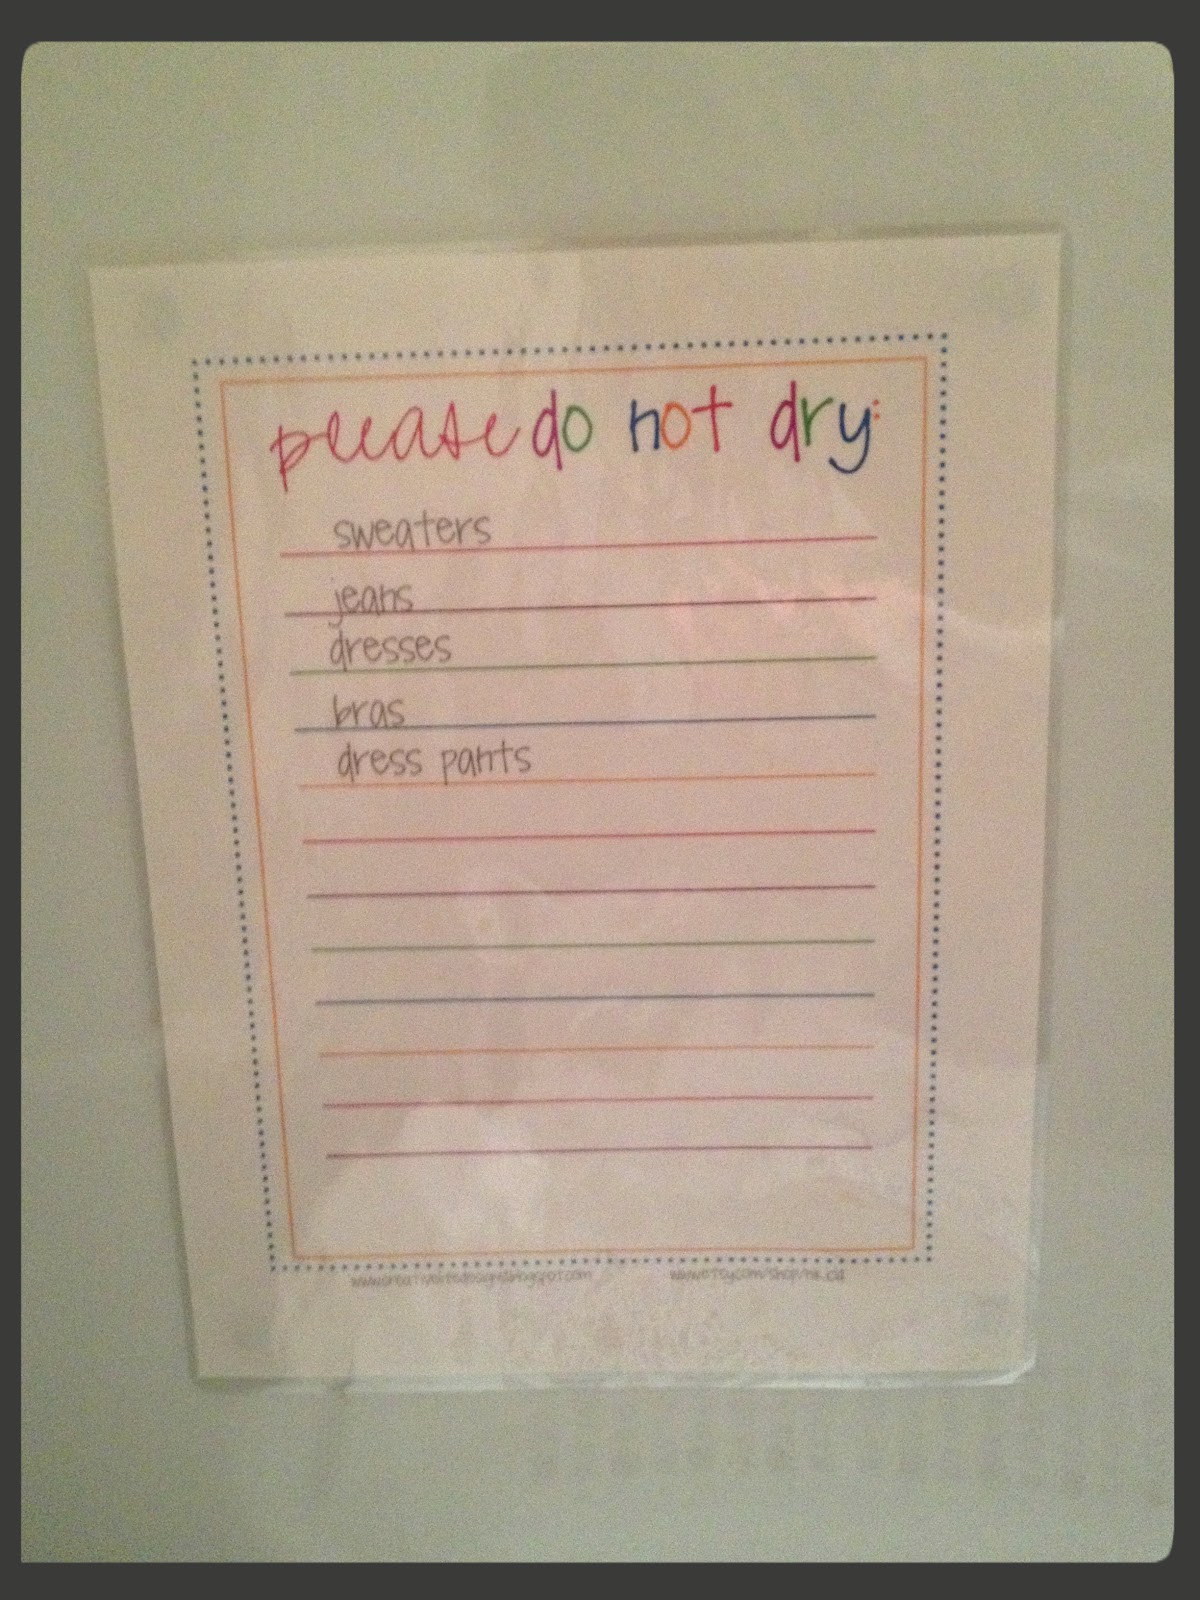
After the installation of my {wonderful, amazing, fantastic, delightful} washer, I tried to make the laundry area a little cuter. If that's possible? Either way, I tried. And I like that it adds a little something while still being functional and practical. {check out the rest of my laundry area here}


***UPDATE!! I can't believe that I forgot one of my first projects. A spare tp roll holder!!


Please share a link to any pinterest projects you have done!! We would love to see what you've done and get some wonderful inspiration!


Wednesday, October 10, 2012

Fifteen minutes of {crafting}

I have been on a pinterest spree lately- making all sorts of crafts and searching for inspiration. I still don't feel like my apartment feels like my home yet. I needs more rearranging, or perhaps initial arranging? And what better place for inspiration, than pinterest? Feel free to send me some pins if you have any brilliant ideas for apartment arranging!!
So on to the craft...
 This isn't really a pinterest craft, though I'm sure it is on pinterest somewhere. It's just a hey, I can use this for this, perfect- kinda thing.
I emptied my coffee into my cute on top of the counter jar and was left with this nice empty can:


I only needed a few supplies for this quick project. 
My homemade mod podge (for poor kids like me)
foam brush
scrapbook paper
clear acrylic sealer (optional)
scissors/paper cutter


I cut the paper to fit on my can and wrapped it around as a test run. I coated the can first then placed the paper on a little at a time, making sure the edges were lined up as I went along. I went section by section until I had gone all the way around the can. Then I went back and coated the outside with mod podge. I think I did 3 coats total, then let it dry really well overnight.


The next morning I sprayed it with an even coat of acrylic sealer, just to be safe. I did this outside before I left for school at 7am. So it was still dark, so no photos. But you get the idea. It was dry a few minutes later and ready for the car. I popped it on my desk when I got to school and tossed in a few pencils.

Super simple, and it matches the bucket that holds all of my post its and passes. Easy Peasy.


Tuesday, October 9, 2012

laundry disaster

 So I had a laundry disaster yesterday. Like it was bad, really bad. We started laundry before bed and of course I was in a rush in the morning and forgot to switch it. Huge Mistake!! My morning rush resulted in not 1, not 2, but 6 (yes 6! SIX!!) Victoria's Secret bra's getting dried. It was horrible!  For the most part they survived, but a few have wires that are a little twisted and messed up. But for those of you who have purchased bras from this store, you know how much money was potentially destroyed in the dyer.
In the old house, I had a sign on the dryer for the everyday items that didn't get tried with a space for special items to be individually listed. That list accounted for all three women in the house, and now it's just me. So I needed a new "do not dry" warning label.
I made this one for myself, with my normal do not dry items already included
Its nice and polite, but gets the point across that I will cry the next time my stuff gets dried. Plus its kinda cute. There was a picture at the bottom of a laundry basket full of colorful socks but it went away when I saved it as the PDF.

I also made a blank one for you. So you too can prevent laundry mishaps :)

 To make mine reusable, I just laminated it and stuck it to the front of the dyer. I will use a dry erase marker to add in those special clothing items that don't go through the laundry very often.


Here's a peek at the rest of our small laundry area:


I have no idea how we accumulated so much extra bedding?? There's like 5 sets of sheets up there! I think three sets of flannel for winter and 2 normal sets. Seems a bit excessive maybe. But switching it up every two weeks keeps me from getting bored. I just put on a clean set when I wash bedding so my bed is remade right away rather than waiting for the laundry cycle to finish.

Since we are jam packed into an (actually not that small) apartment, the laundry area also doubles as my closet. Our clothes do not even come close to fitting in the closet and two dressers. Not that I have a problem, or too much clothes. That can't be the issue. So my belts hang here. Mostly because the rack clips into this kind of shelving and I wasn't about to replace the shelf in the closet just so my belt rack could hang in there. It works just fine here.


 Socks are the other item that made it here from my closet. There is a basket for dress socks and a basket for everyday and workout socks. Again, not an ideal situation, but it works. Not a huge deal to walk to the hall to grab a pair of socks after I'm dressed for the day.


Last is my "laundry supplies" Method detergent on the far left, cheap-o fabric softener, normal detergent, and oxi-clean in the pretty jar. Oxi-clean is my favorite. My white NorthFace coat could not survive without it, because lets face it- I can't keep anything white. 


What do you do at your house to control the laundry situation?? I would love to see pictures of some other apartment laundry spaces!! Perhaps a little inspiration for me to reorganize??